How Transcriber works, from audio tap to transcript file
How Transcriber records both sides of a call on a Mac, transcribes them locally and tells speakers apart, explained step by step with the limits included.
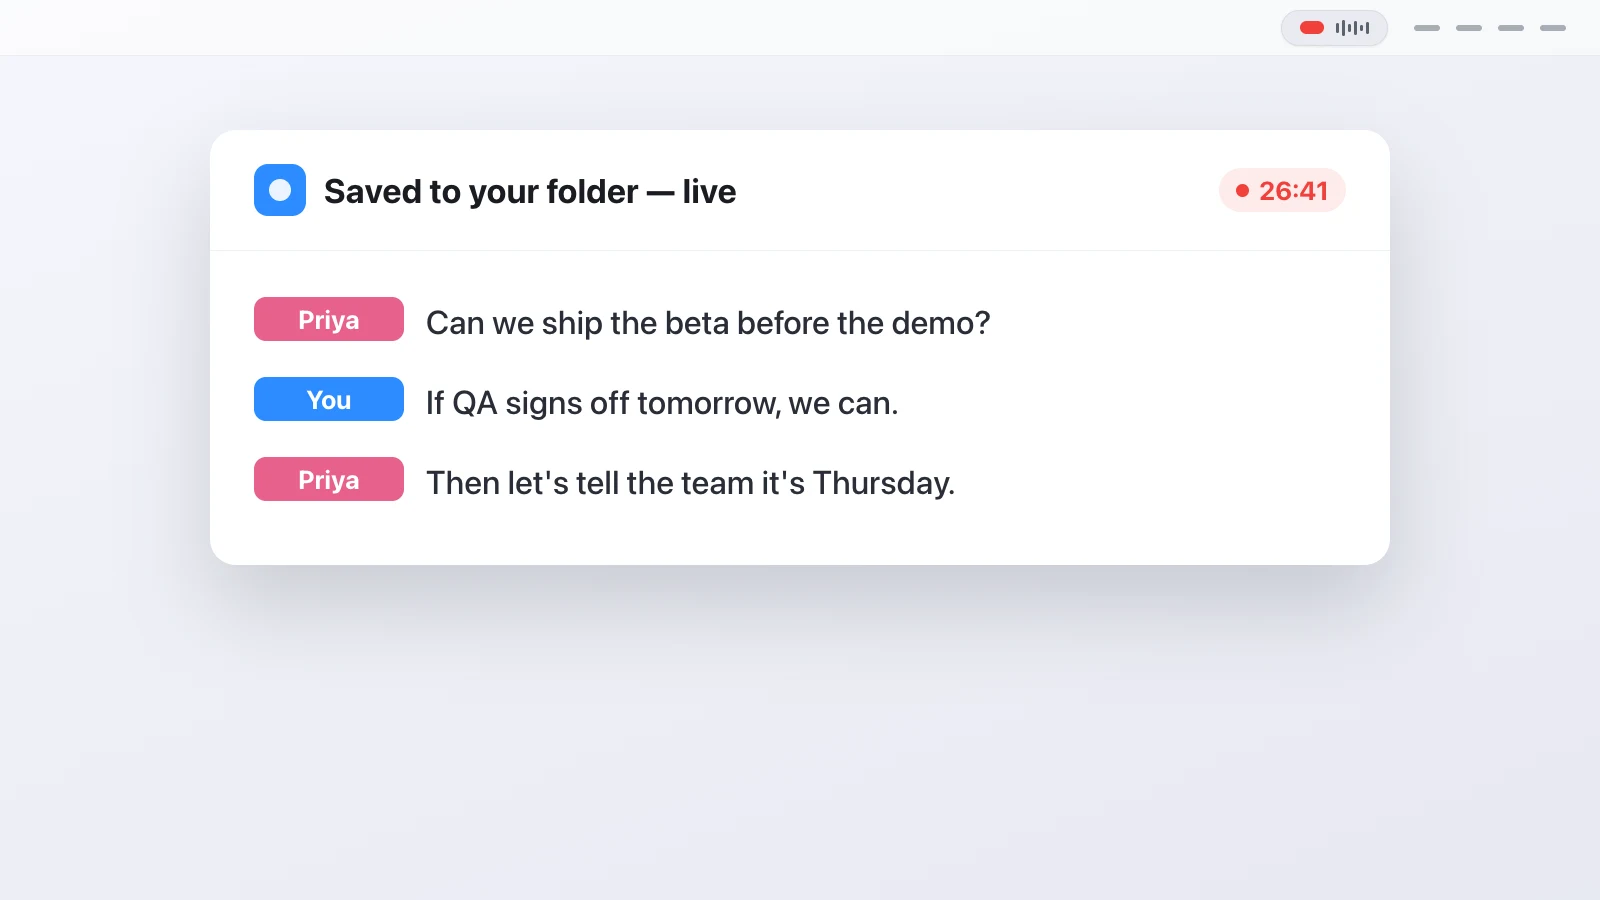
Transcriber records two audio streams on your Mac, the microphone and the system output, transcribes each one locally with a downloaded model, and writes the result to a folder while the call is still going. Different speakers are already separated: what the microphone hears is you, what the speakers play is everyone else. This post walks through each step, including the parts that are still rough.
Where does the audio come from?
From two places that macOS treats very differently. Your own voice arrives through the microphone, which any app can record after you allow it once. The other participants arrive as sound that Zoom, Teams, WhatsApp or a browser sends to your speakers, and for years there was no clean way for another app to listen to that. People installed virtual audio drivers, which worked until the next macOS update.
Since macOS 14.2 Apple provides a system audio tap. An app can ask to listen to what other processes play, you grant it once under System Settings, Privacy & Security, and from then on the far end of a call is just another input. Transcriber opens that tap for the system side and your normal input device for your side. Both run in parallel and each one is written to its own WAV file at 16 kHz, flushed every two seconds.
One implementation detail for the curious: on macOS 26 the global tap that should cover every process starts without error but never delivers audio. So Transcriber builds a tap over the explicit list of audio processes instead and rebuilds it when that list changes, for example when you open another app in the middle of a call.
How does the transcription happen without a server?
The models run on the Mac. The first recording downloads about a gigabyte into the FluidAudio folder under Application Support: Parakeet TDT v3 for speech to text, Silero for voice activity detection and pyannote for speaker separation. After that download nothing needs the network. The only other network access the app makes is the update check against GitHub.
Each channel is fed through voice activity detection, which cuts the stream into segments where someone is actually speaking. Each segment goes to the transcription engine, comes back as text with timestamps, and is appended to the transcript. That is also why the floating bar under the menu bar can show the text while you're still talking: it shows segments as they finish, not the whole call at the end.
How does it know who said what?
The first split is naturally free and already in place: Everything from the microphone channel gets your name, which you set in Settings, and everything from the system channel is the other side. For a one-on-one call that is already the whole answer.
When several people are on the far end, the diarization step runs over the system channel after the call. It listens for distinct voices and splits the channel into Speaker 1, Speaker 2 and so on. What it can't do is know their names, because there is no meeting platform telling it who is who. You get labels, and you rename them if you need to (there is an experimental feature which could figure out the names live during the call, but yeah, experimental).
What about echo?
If you're not wearing headphones, your microphone hears your loudspeaker, so the far end would show up twice: once cleanly from the system channel and once, delayed and muffled, from the mic. The echo gate handles this. It uses the system channel as the reference signal, estimates the delay and how loud the echo is, and mutes microphone frames that contain nothing but the far end. A text-level check afterwards drops any duplicate that still got through. On a real 54-minute Zoom call this removed 220 of 225 echo segments. Apple's own voice processing exists as an experimental alternative and is off by default.
What ends up on disk?
A folder per recording, named after the date and the title you give it, inside the transcripts folder of your choice. The readable file is transcript.md, grouped by speaker with timestamps and re-rendered after every segment. The important file is transcript.jsonl: one JSON object per segment, appended and fsync'ed immediately, which makes it the crash-safe source of truth. If the Mac dies mid-call, everything up to the last segment is on disk, and the next launch offers to transcribe whatever audio was not processed yet and to render the final files.
Optional extras are transcript.json and transcript.srt, and the raw mic.wav and system.wav if you choose to keep audio. A session.json holds the metadata and whether the session is complete.
What happens after the call?
You click the menu bar dot again, or press the global shortcut, and Transcriber asks for a title. If you set up an AI tool in Settings, one of the buttons is Save & Open in Claude, ChatGPT, Perplexity or whichever app or website you picked. The transcript goes onto the clipboard together with your prompt template, the tool opens, and the text is pasted. You press Enter and get a summary, action items, or whatever your template asks for.
Where is it rough?
The transcript is a machine transcript. Names, product codes and heavy accents want a read-through. Speaker labels on the far end are labels, not names. And it only runs on a Mac, because the whole approach depends on the macOS audio tap.
For a look at the same mechanics from the user's side, the post on recording a Zoom call on a Mac shows what a recording looks like start to finish.
Questions people ask
Does it work with every app?
With every app that plays audio through the Mac. Zoom, Teams, Google Meet, WhatsApp, FaceTime, a call in a browser tab and a YouTube video are all the same to it.
Why does it need two permissions?
Microphone for your side and System Audio Recording for the other side. Without the second one, the far end of the call would be missing from the transcript.
How big is the model download?
About one gigabyte, downloaded once on the first recording or up front in Settings. It contains Parakeet for transcription, Silero for voice detection and pyannote for speaker separation.
What happens if the Mac crashes during a call?
The transcript is written to disk after every segment, so everything up to the crash is already saved. On the next launch Transcriber offers to finish the session.
Can I get subtitles or JSON out of it?
Yes. Markdown is always written, JSON and SRT are optional exports in Settings, and the raw audio can be kept as WAV files.
Is an Intel Mac enough?
macOS 14.2 is the requirement. The transcription models run much better on Apple Silicon, so that is what I recommend.
This article was written with the help of AI, based on how Transcriber actually works, and read and approved by Moritz before publishing.